A Step-by-Step Guide on How to Install Vapor Barrier in Crawl Space

Preserving the structural integrity of your home requires attention to often-neglected spaces, such as crawl spaces. This guide provides a detailed walkthrough on how to install a vapor barrier in the crawl space, addresses the critical aspects of moisture prevention, and offers insights into optimizing your home’s longevity.
Unpacking the Significance of a Vapor Barrier
Before delving into installing a vapor barrier in a crawl space, it’s crucial to understand the pivotal role a vapor barrier plays in maintaining your crawl space. Installing a vapor barrier in your crawl space is vital to safeguarding your home’s overall well-being. By controlling moisture, the barrier prevents issues such as mold growth and wood rot, ensuring the longevity of structural components.
This proactive step improves indoor air quality by reducing allergens and enhances energy efficiency by regulating temperatures. It acts as a deterrent to pests, minimizing the risk of infestations, and contributes to long-term cost savings by preventing potential damage and decay. Additionally, a properly maintained crawl space with a vapour barrier can positively impact your home’s resale value, reflecting a commitment to property preservation and creating a more comfortable living environment.
In essence, installing a vapor barrier serves as a comprehensive solution, addressing moisture-related challenges and providing lasting benefits for your home’s structural integrity and the well-being of its occupants.
Assembling the Essential Materials
Embarking on the crawl space vapor barrier installation journey requires gathering the following materials:
- Vapor Barrier Material: Opt for a durable, high-quality material tailored to your crawl space’s unique dimensions. This ensures optimal coverage and effectiveness in shielding against moisture infiltration. The suitable material is a crucial investment for the long-term performance of the vapor barrier.
- Utility Knife: This precision tool is indispensable for cutting the vapor barrier material to the exact specifications of your crawl space. Its accuracy is vital to avoid waste and ensure a snug fit, contributing to the overall effectiveness of the installation.
- Tape Measure: An essential instrument for accurate measurements, the tape measure facilitates precise cuts of the vapor barrier material. Its role in achieving precision contributes to the efficiency and success of the entire installation process.
- Staple Gun: A staple gun is a key tool for securing the vapor barrier to both the crawl space walls and floor effectively. Its efficiency in fastening the material ensures a secure and tight fit, preventing sagging or gaps that might compromise the barrier’s effectiveness.
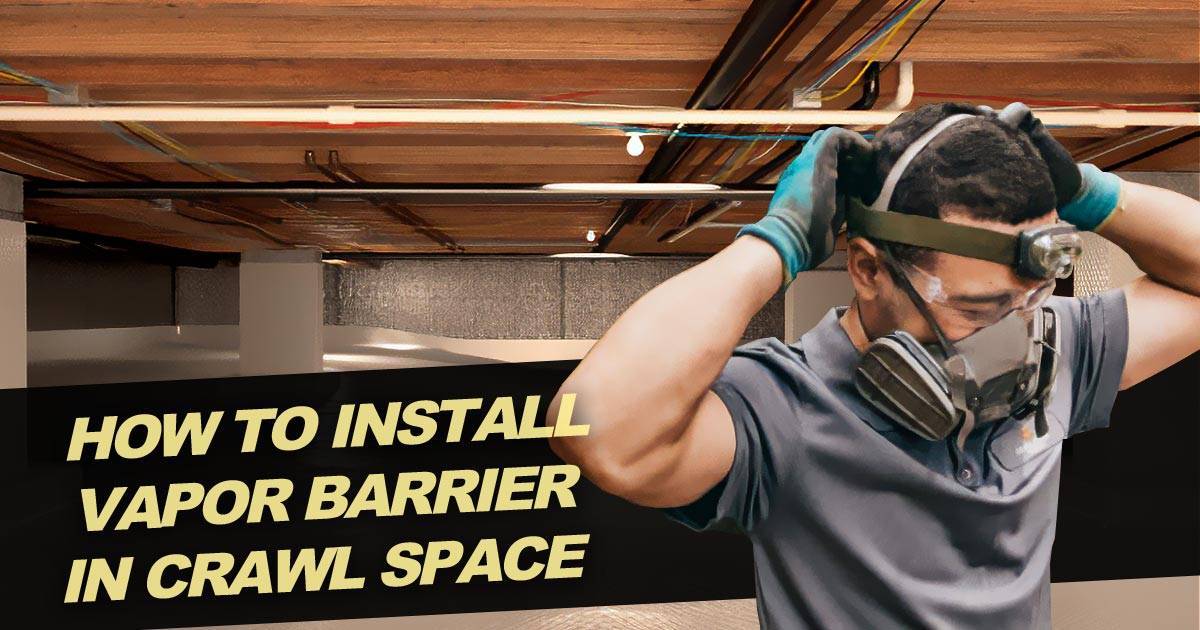
- Safety Gear: Prioritize your well-being by wearing gloves and a mask during installation. This protective gear will guard you against potential irritants, ensuring a safe working environment and allowing you to focus on creating a durable and effective vapor barrier.
Installing Vapor Barrier in Crawl Space: A Step-by-Step Installation Process
Here are the steps you need to follow on how to install a vapor barrier in the crawl space:
Step 1: Preliminary Preparation
Initiating the crawl space vapor barrier installation with thorough preliminary preparation is essential for a successful outcome. Begin by meticulously cleaning the crawl space and ridding it of any accumulated debris that may impede the barrier’s effectiveness. This preliminary step sets the foundation for a clean and well-prepared surface. Additionally, take the opportunity to remove any existing insulation and carefully inspect the crawl space for structural damage. Addressing these issues immediately ensures a sound environment for the subsequent installation steps.
Step 2: Measurement and Precision Cutting
Accurate measurement and precision cutting are fundamental when you install a moisture barrier. Take the time to measure the dimensions of the crawl space meticulously. Armed with these precise measurements, cut the vapor barrier material accordingly, ensuring a tailored fit to the unique specifications of your crawl space. Including a slight excess around the edges during cutting is a strategic move, guaranteeing comprehensive coverage and eliminating the risk of leaving vulnerable areas exposed to moisture.
Step 3: Strategic Placement
The strategic placement of the vapor barrier is a critical step in the installation process. Unroll the material, starting from one end of the crawl space, and strategically position it to cover the entire floor. Meticulously extend the material up the walls, ensuring seamless and comprehensive coverage. This strategic placement is key to the barrier’s effectiveness in preventing moisture intrusion, contributing to your crawl space’s overall health and longevity.
Step 4: Secure Fastening with a Staple Gun
The security of the vapor barrier is achieved through the effective use of a staple gun. Employ this essential tool to fasten the material securely to both the crawl space walls and floor. Maintain even spacing between staples to prevent sagging and the formation of gaps in the barrier. The staple gun ensures a tight and secure fit, a crucial factor in the barrier’s ability to withstand external elements and maintain its protective properties.
Step 5: Seam Perfection
The installation requires multiple pieces of vapor barrier material, so ensuring seam perfection is paramount. Guarantee a seamless joint by overlapping the seams by at least 6 inches. This meticulous approach to seam alignment, coupled with seam tape, creates a robust and continuous barrier. Seam perfection is the final touch that enhances the overall integrity of the vapor barrier, creating a cohesive and impenetrable shield against moisture in your crawl space.
Section 4: Additional Pro Tips for Enhanced Installation
- Conduct a thorough inspection for leaks or water damage before installing the vapor barrier.
- Regularly inspect the crawl space for potential tears or damage to the vapor barrier, promptly addressing any issues.
- Seek professional guidance if challenges arise during installation to ensure a flawless outcome.
Successfully Install Vapor Barrier in Crawl Space!
By meticulously following this step-by-step guide on installing a vapor barrier in your crawl space, you’re taking proactive measures to shield your home from moisture-related challenges. Routine maintenance and inspections are pivotal in upholding the effectiveness of the vapor barrier, contributing to a healthier home environment and prolonged property longevity.
